The Art of Homemade Baby Food: A Comprehensive Guide to Nourishing Your Little One
Introduction
As a new parent, providing your baby with the best possible nutrition is paramount. While commercial baby food can be convenient, it often contains added sugars, preservatives, and other undesirable ingredients. Making your own baby food is a healthier, more cost-effective, and rewarding way to feed your little one. This comprehensive guide will empower you with the knowledge and techniques to create delicious, nutritious, and age-appropriate baby food in the comfort of your own home.
Benefits of Homemade Baby Food
- Control over ingredients: You can choose fresh, organic produce and avoid any unwanted additives or preservatives.
- Nutritional superiority: Homemade baby food retains more nutrients than commercial varieties, as it is not subjected to high-temperature processing.
- Cost-effectiveness: Making your own baby food can save you a significant amount of money compared to purchasing pre-packaged options.
- Convenience: With proper planning and preparation, making baby food can be a quick and easy task that fits into your busy schedule.
- Bonding experience: Preparing and feeding your baby homemade food can create a special bonding experience between you and your little one.
Getting Started
Equipment:
- Blender or food processor
- Steamer or microwave
- Ice cube trays or freezer-safe containers
- Measuring cups and spoons
- Spatula or spoon
Ingredients:
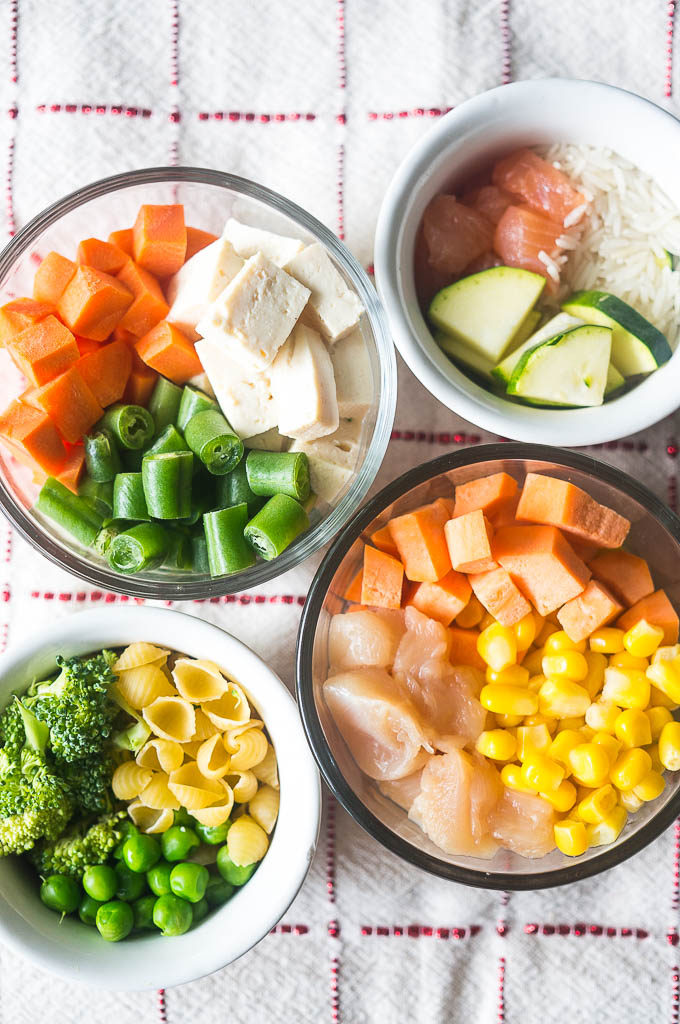
- Fresh, organic fruits and vegetables
- Lean meats (chicken, turkey, fish)
- Whole grains (brown rice, quinoa, oatmeal)
- Legumes (beans, lentils)
Step-by-Step Instructions
1. Choose and Prepare Ingredients:
- Select ripe, fresh fruits and vegetables. Wash them thoroughly to remove any dirt or pesticides.
- Peel and cut fruits and vegetables into small pieces for easier steaming or microwaving.
- For meats, remove any bones or skin and cut into small cubes.
2. Cook Ingredients:
- Steaming: Place the prepared ingredients in a steamer basket over boiling water. Steam until tender, about 10-15 minutes for vegetables and 15-20 minutes for meats.
- Microwaving: Place the prepared ingredients in a microwave-safe bowl with a splash of water. Microwave on high for 2-3 minutes per cup of ingredients, stirring halfway through.
3. Puree Ingredients:
- Transfer the cooked ingredients to a blender or food processor.
- Add a small amount of breast milk, formula, or water to help with blending.
- Puree until smooth, adjusting the consistency as desired.
4. Season (Optional):
- For older babies (6 months and up), you can add a pinch of herbs or spices to enhance the flavor. Avoid adding salt or sugar.
5. Store and Freeze:
- Store homemade baby food in the refrigerator for up to 3 days.
- For longer storage, freeze the pureed food in ice cube trays or freezer-safe containers. Frozen baby food can be stored for up to 3 months.
Age-Appropriate Baby Food
4-6 Months:
- Single-ingredient purees of fruits and vegetables (e.g., banana, sweet potato, avocado)
- Smooth, single-grain cereals (e.g., rice cereal, oatmeal)
6-8 Months:
- Purees of multiple fruits and vegetables
- Mashed fruits and vegetables
- Soft-cooked meats (e.g., chicken, turkey)
8-10 Months:
- Chunky purees with small pieces of food
- Finger foods (e.g., soft fruits, steamed vegetables)
- Yogurt and cheese
10-12 Months:
- Table foods cut into small pieces
- Soft-cooked legumes (e.g., beans, lentils)
- Whole-wheat bread and pasta
Tips for Success
- Start with simple purees: Introduce new foods one at a time to monitor for any allergies or sensitivities.
- Gradually increase consistency: As your baby gets older, gradually increase the chunkiness of the food to encourage chewing and swallowing skills.
- Experiment with flavors: Offer a variety of fruits, vegetables, and meats to expose your baby to different tastes and textures.
- Avoid honey: Honey should not be given to babies under 1 year old due to the risk of botulism.
- Be patient: It may take some time for your baby to adjust to new foods. Don’t be discouraged if they don’t like everything right away.
Conclusion
Making your own baby food is a rewarding and fulfilling experience that provides your little one with the best possible nutrition. By following the steps outlined in this guide, you can create delicious, nutritious, and age-appropriate baby food in the comfort of your own home. Remember to start slowly, experiment with flavors, and be patient as your baby discovers the joys of eating. With a little effort and creativity, you can provide your precious child with a healthy foundation for a lifetime of good eating habits.